inside page 1 and 2

front cover

close up page 1

close up page 2

turn the page...

page 2
Of course you can rearrange elements in any way you choose, or leave out some of the sentiments and include some photos, or poems. It's yours to personalize!
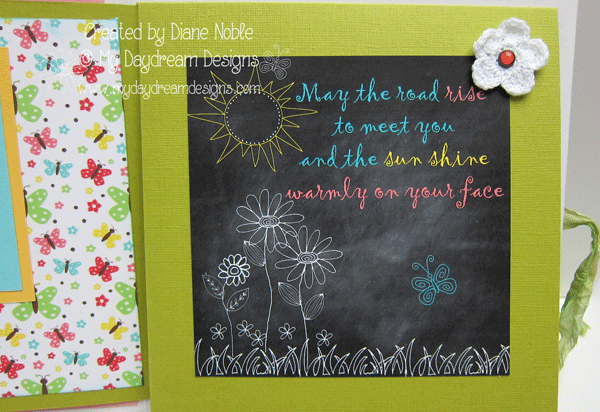
One of my all time favorites sets from my store was this from my chalkboard sets. Use a white gel pen to add a little message of your own.

Lift up that chalkboard page pictured above to reveal yet two more panels for fun personalization.

Unfold the top right panel to see your final page, top left. Lots of room for photos or your own special messages. I hope to make this again to give to a friend. I've made it twice and it's just so fun, so easy and so fast with all the elements ready to go. All you have to do is add a few bows or other embellies.

I know you know someone who would be blessed by this sweet super card. Or how about for your daughter just to tell her how much she blesses you. You can change out the sentiments to make it perfect for that special person.
The 12-page tutorial walks you through each page, step by step. These screen shots show you what the tutorial looks like inside...

Photo enhanced, list of supplies and set up instructions

Step by step instructions for each page including measurements in case you
want to replicate the project using different papers

You receive all the images, digi papers...you get it all except the embellishments
you want to add to make it your own. The paper piecing shown above
has already been done for you, so you just color in Carly according
to the Copic numbers and you'll be color coordinated.
If this link doesn't work for you, just contact me and I'll be happy to email it to you.
dianenoble50[AT]aol[DOT]com
THAT'S NOT ALL!
For those of you who prefer to do your own coloring of images...please help yourself!
These FREE versions are available for a limited time.


I hope you are blessed by this post! Thanks so much for visiting.